Whether you’re upgrading your bathroom, replacing a damaged toilet, or preparing for plumbing repairs, knowing how to remove a toilet is an essential DIY skill. While it may seem like a messy or complicated job, with the right tools and guidance, most homeowners can handle this task in under an hour.
In this guide, we’ll walk you through the step-by-step process of safely and efficiently removing a toilet. We’ll also cover common mistakes to avoid and what parts you may need if you’re planning to reinstall or replace your unit.
Tools & Materials You’ll Need
- Adjustable wrench or socket wrench
- Screwdriver (flathead and Phillips)
- Putty knife
- Bucket, sponge, or towel
- Old rags or towels
- Rubber gloves
- Utility knife (optional)
- Plumber’s putty (if reinstalling)
- New wax ring (if reinstalling)
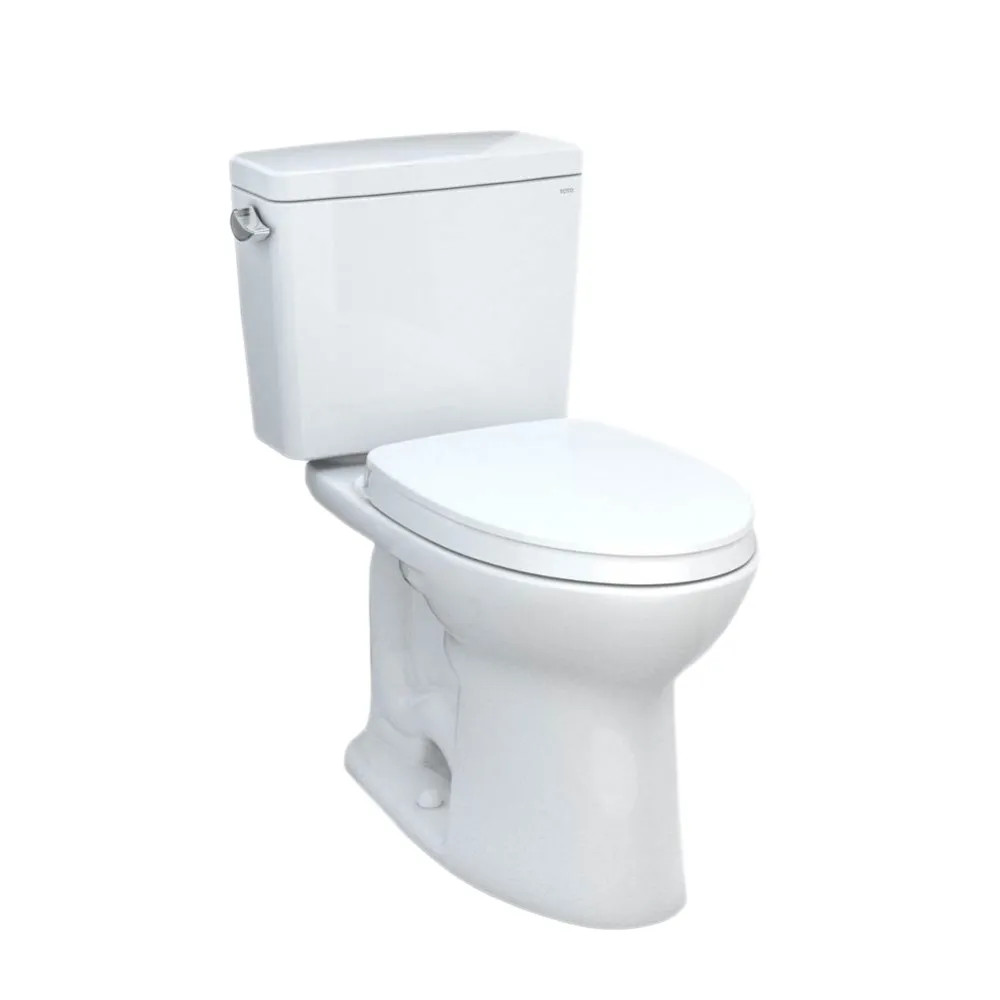
If you’re planning to install a new unit after removal, consider our extensive selection of toilets, which includes one-piece and two-piece models.
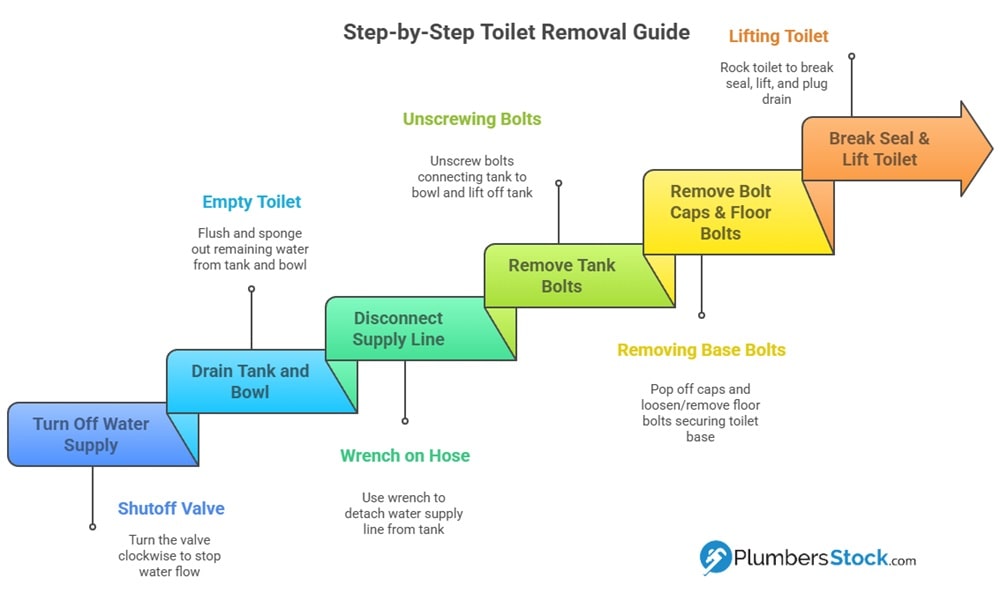
Step-by-Step Instructions for Removing a Toilet
1. Turn Off the Water Supply
Locate the shutoff valve behind the toilet near the floor. Turn it clockwise until it stops.
 Tip: If your shutoff valve is stuck or leaking, consider replacing it along with the supply line. You can find quality toilet supply lines here.
2. Drain the Tank and Bowl
Flush the toilet to empty as much water as possible from both the tank and bowl.
- The tank
- The bowl
- The base area around the floor (use sponge/towel)
3. Disconnect the Water Supply Line
Using an adjustable wrench, disconnect the water supply line from the underside of the tank.
Be prepared for some residual water—have a bucket ready just in case.
4. Remove Tank Bolts (for Two-Piece Toilets)
- Locate bolts underneath where the tank connects to the bowl.
- Unscrew them using your wrench.
- Carefully lift off the tank and set it aside on an old towel.
“Always lift with your legs—not your back—when removing heavy items like one-piece toilets,” says licensed plumber Mark Jensen, “And don’t hesitate to ask someone for help if needed.”
5. Remove Bolt Caps & Floor Bolts
Pop off any decorative bolt caps on either side of the toilet base using a flathead screwdriver. Then use your wrench to loosen and remove both floor bolts securing the base of your toilet. If they’re rusted or stuck:
- Apply penetrating oil
- Use locking pliers
- Cut them off with a hacksaw if necessary
You can find replacement toilet bolts and wax rings here.
6. Break Seal & Lift Toilet Off Flange
Gently rock the toilet back and forth to break its seal with the wax ring underneath. Once loosened:
- Lift straight up carefully.
- Place it on its side on newspapers/cardboard.
- Plug the drain hole temporarily with an old rag.
“After removing toilet from flange, immediately plug waste opening using disposable cloths or rubber test plug.”
– From Kohler’s installation manual
What To Do After Removing Your Toilet
Clean Up Wax Residue
– Use a putty knife to scrape away all old wax from around the flange area.
– Inspect flange condition:
- Cracked? Replace it.
- Loose? Secure before installing the new unit.
Explore our collection of toilet carriers and drains here.
Inspect Other Components
Now’s also a great time to inspect:
- Toilet fill valves – If replacing internal components
- Toilet flappers – A Common source of leaks
- Toilet tanks – If cracked/damaged during removal
- Toilet seats – Consider upgrading while access is easy!
FAQ: Removing Toilets at Home
Q: Do I need professional help?
A: Not necessarily! Most homeowners can do this themselves, but call in help if you encounter corroded parts or signs of sewage backup.
Q: Can I reuse my old wax ring?
A: No—wax rings are single-use only! Always install a new one when reinstalling any fixture.
Q: What should I do about a sewer smell?
A: Immediately plug the drain opening with a rag until ready for reinstallation.
Q: Should I replace other parts now?
A: Absolutely! Consider upgrading things like tank levers, fill valves, and more while access is easy.
Resources
Here are two helpful guides that offer additional visuals:
For all replacement parts—from toilet bowls and seats to advanced options like built-in bidet toilets —PlumbersStock has everything you need at competitive prices, backed by expert support.
About the Author
Nathan is a product expert and has worked for PlumbersStock since 2012. Like many in the company, he's a graduate of Southern Utah University. He enjoys spending time with his family, the gym, being in the mountains, reading, movies, music, watching sports, and playing CoD online with his little brother.
